Before and after examples: Cinematic Jade
A cinematic style that moves colors toward teal and warmer highlights. Check portraits carefully to judge how the treatment handles skin tones.
All style previewsInspect the supplied examples before choosing a style. Move the slider to compare the original photograph with its edited version, or use the arrow keys when the control is focused. These examples show a particular style on particular images; they are not a guarantee that every photograph will match the same result.
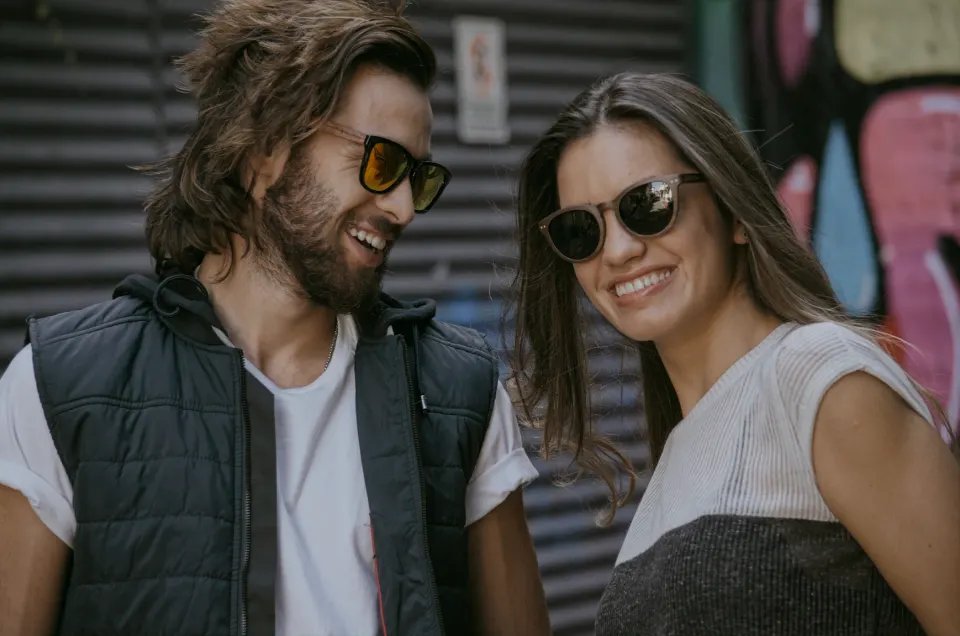
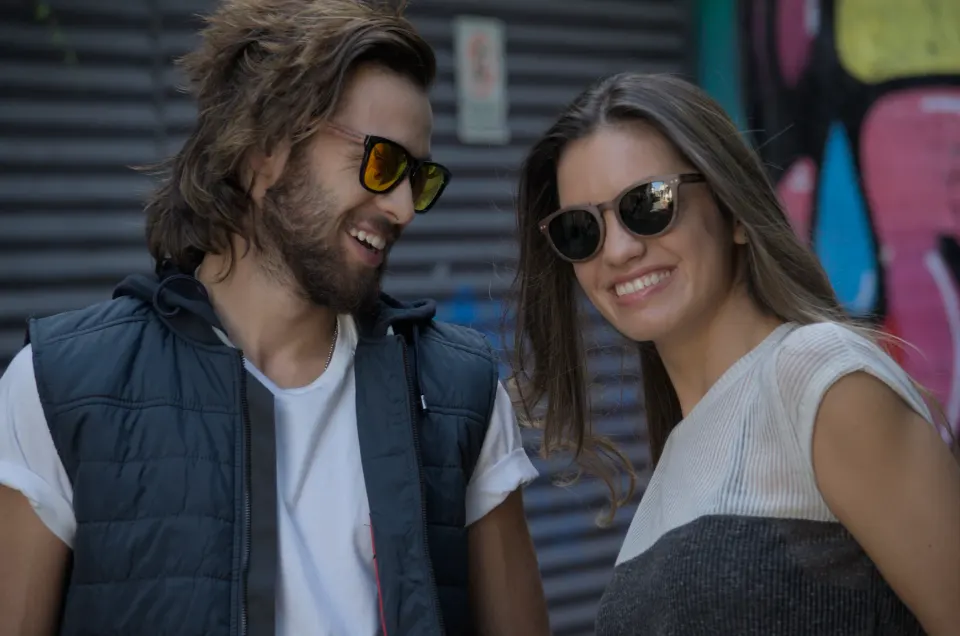
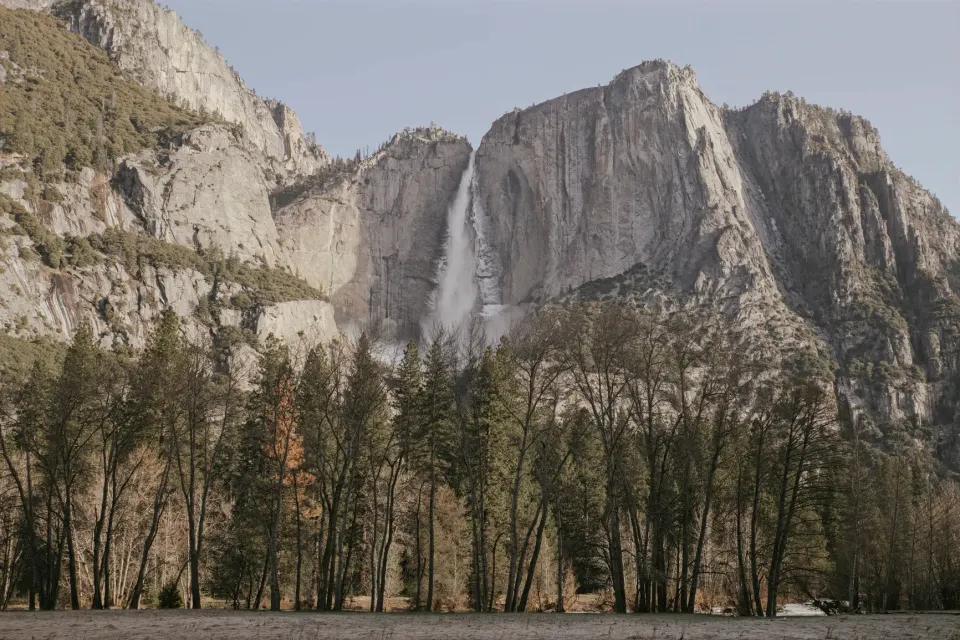
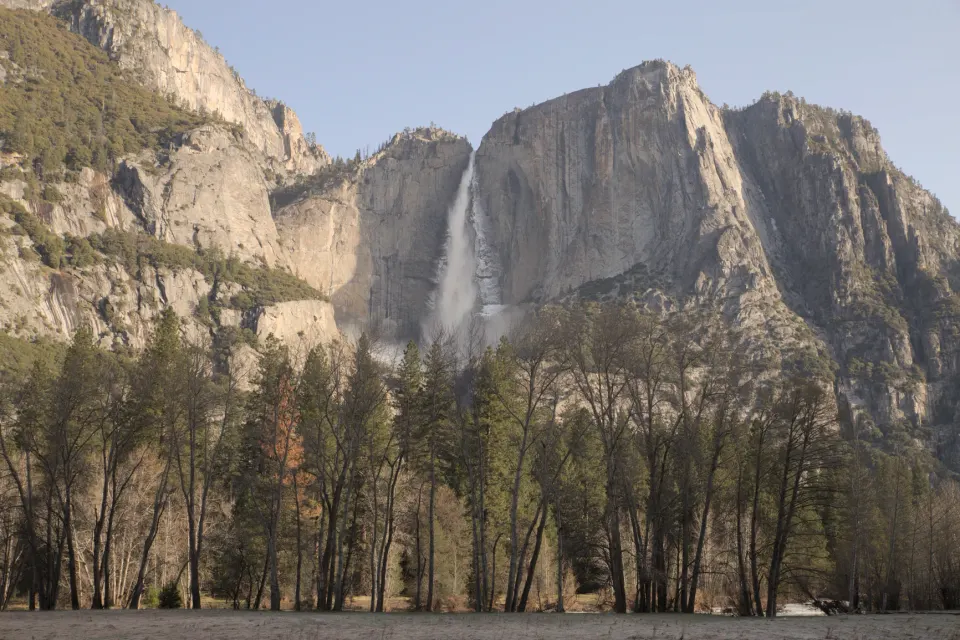
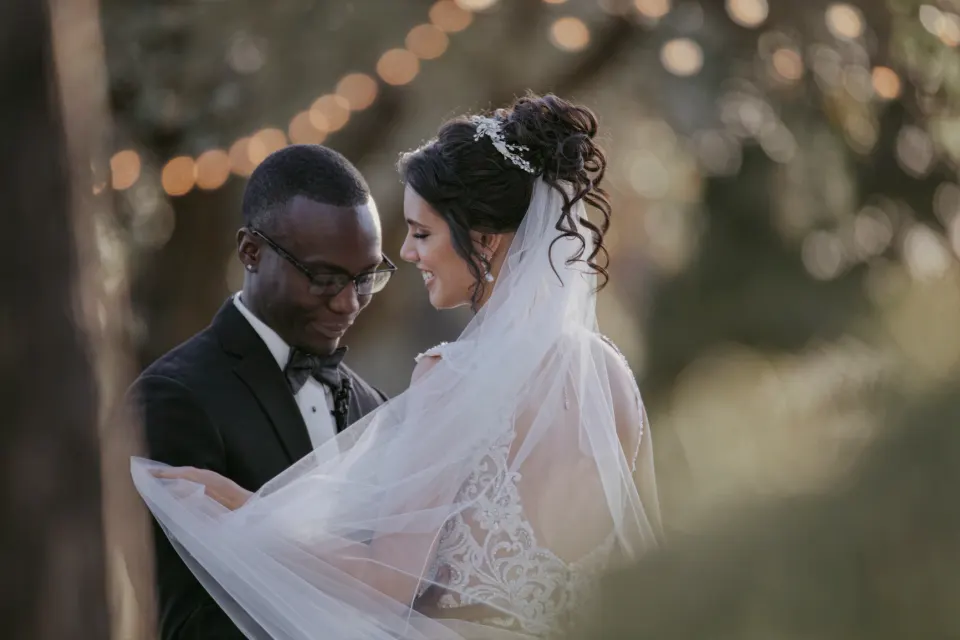
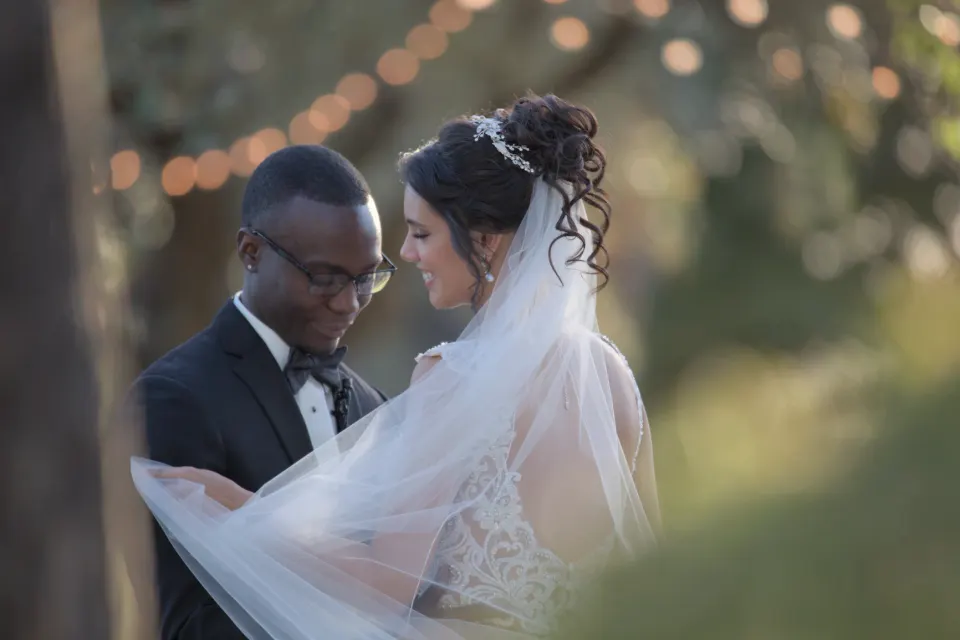
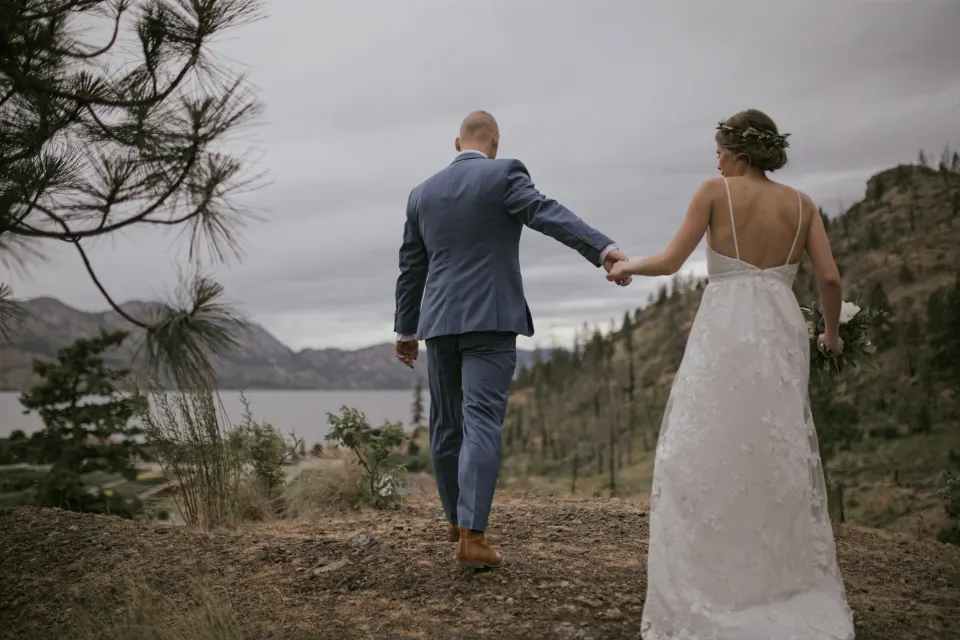
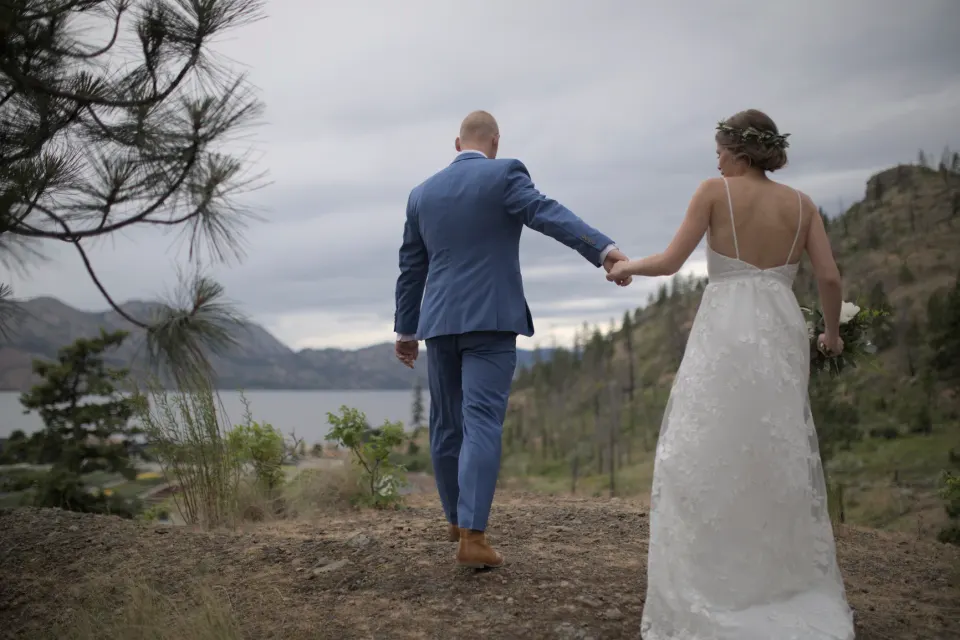


Read the look across the whole gallery.
Start with the original photograph and move toward the edited version. Look at neutral tones, bright colors and the transition between highlights and shadow. Compare the treatment across the supplied examples rather than deciding from a single frame. Each image brings its own subject and lighting; the sequence helps you understand what this look emphasizes.
When you try the style on your own work, keep a few reference photographs alongside the results. Check the images that are most representative of the assignment, including difficult light and important skin tones. The final choice of style remains a creative decision for the photographer.
Want a style that is already yours?
Built-in styles are a starting point. A personal style learns from 5–20 of your edited photos. Test it on an unseen gallery before you deliver to a client.
Discover personal stylesQuestions before you start
How many photos do I need?
Minimum 5 edited photos, and the best results come with about 20. Use edited photos that represent your style across the lighting conditions you normally photograph. Keep a separate test gallery so you can judge the results on images that were not used for training.
How long does training take?
Training a personal style takes about an hour today: 59–70 minutes in four production runs, October 2026. Times vary with your photos and workload.
How does the Pro trial work?
The 14-day Pro trial needs no credit card. It includes 3,000 trial credits (1 credit = 1 edited photo) and one personal style. Unused trial credits expire on day 14. The Free plan’s 200 edits a month start on day 15, so the two never stack.
What happens after day 14?
Your account moves to Free automatically and you are never locked out. Free includes 200 edits a month, starting on day 15. Your trained personal style is kept; Starter or higher is needed to run it. Storage above Free’s 5GB stays read-only for 30 days while you decide. Nothing is deleted.
What makes the paid plans different?
Choose by personal styles, storage and team seats. Starter includes one personal style and 100GB; Pro includes three personal styles and 1TB; Studio includes ten personal styles, 3TB and five seats. Paid editing is subject to fair use; Pro has a published allowance of 50,000 edits/month.
Do I still need Lightroom?
That depends on your workflow. Imagick includes cloud culling, AI editing, and client galleries. Pro and Studio support XMP export for Lightroom. Native Lightroom plugins and retouching are not available today, so keep the tools you need for those tasks.
Which currency will I pay in?
All prices are fixed in USD in both English and Hebrew. There is no currency conversion on this site. Any applicable tax and the final amount must be shown at checkout before you confirm payment.
Can I cancel or pause for the winter?
You can manage cancellation in account billing settings. We do not advertise a winter pause until that billing option is available. Review the confirmation and your renewal date when changing your subscription.